Our equipment posts cover the making, modification and use of observatories, telescopes and equipment. Select the posts for more information on the topics.
Super Smooth EQ6 Azimuth Adjustment
The Eq6 is fixed to the pier/tripod using a central bolt, but this generates significant friction between the tripod/pier and EQ6 which can make polar alignment along the azimuth axis difficult, you need the central bolt to be tight to ensure no movement but loose to adjust the azimuth for polar alignment, but it can’t be both, fortunately this can be easily fixed.
If you haven’t done it already complete the knobs mod.
Parts:
Instructions:
I used 1mm thick PTFE sheet, but I know others who have had success with thinner PTFE sheet, you can cut this using sturdy scissors, but I opted to scribe the PTFE using a pair of engineering dividers. Simply place the sheet between the mount and the pier adapter/tripod.
Note image below doesn’t show the hole you have to cut for the lug that protrudes from the pier/tripod which the azimuth adjustment bolts push against.
SkyWatcher EQ6 Knobs Mod
The polar adjustment knobs on the EQ6 are not very good, upgrading these parts will make your telescope mount much easier to use and therefore will result in better polar alignment leading to better images.
The problems:
- The Azimuth adjustment knobs are too small to get a good grip on them
- The Azimuth adjustment knobs are too close to the mount, so you either bang your knuckles into the mount or can’t get a propper grip on the knobs.
- The Altitude adjustment bolts are too soft and bend easily
- The handles on the Altitude adjustment bolts are too small and uncomfortable to handle.
The Solution:
Fortunately these problems can be fixed relatively easily by replacing the parts.
Parts list:
- 80mm, M10 clamping knobs with 50mm star shaped knob
- 80mm, M10 machine knobs with adjustable metal handles
Tips:
This is a straightforward modification, but there are a few things to consider.
- When removing the altitude adjustment bolts remove the telescope and counter weights, also be careful that the mount doesn’t swing down – the mount is heavier that you think so this job is best done on a workbench with the mount laying on its side.
- If you can’t remove the rear (south facing) altitude adjustment bolt – don’t force it, you will damage the thread – it is probably bent! this is a common problem with the EQ6. Unfortunately fixing it, although straight forward, does require removing the circular caps and unbolting the the central altitude bearing bolt and almost everyone who tries this damages the end caps covering the altitude bearing bolt. These caps are glued in place with what looks like epoxy. I was lucky and the paint the expoy was glued to gave way but it is very unusual for these to not be destroyed in the process of removing them (if you do destroy them you can get replacements from Modern Astronomy as part of their slide mod).
Replacement Knobs for the EQ6 make a huge difference to polar alignment
If you haven’t done it already also do the super smooth azimuth mod and the super smooth Altitude mod.
All Sky Cam Project
At a recent society night Keith described how he has built an all-sky camera, mainly from parts he had laying around, the camera is capable of producing a live view of the sky, time laps video summary of the night, can upload the images to a website for public viewing and can be used as an ASCOM compliant sky sensor.
This short article provides some notes to help others wishing to do the same.
Parts needed:
- PC/Laptop (windows)
- A CCD/CMOS Astronomy camera (with ASCOM drivers)
- Fish eye lens (Keith use a 2.1mm CCTV Cmount lens)
- Long USB cable
- Rechargeable dehumidifier
- Water proof electrical junction box
- 3.5″ Acrylic dome (from dewcontrol.com)
- Plumbers Mate putty (to seal the dome to the junction box)
- AllSkEye software
- Tektite Skies software (ASCOM cloud sensor software based on all sky camera)
- 1 Ohm resistors (to make dew heater – although dewcontrol.com make them if you don’t want to make your own)
- Rain-X Plastic – to reduce raindrops and dew on the dome.
- USB female panel mount connector
- 12v power supply – for the dew heater
Key Features provided by AllSkEye
- Can run 24/7 automonously
- Acquire images during pre-set or calculated (e.g. night) times
- Place latest image on the Internet (FTP)
- Can automatically creates video files of saved images
- Add overlay on images (e.g. timestamp, compass, text)
- Can save files in FITS format
- Detects meteor trails
Key Features provided by Tektite Skies
- Able to detect stars and clouds
- Can send an email or sound an alert when sky is clear
- Start and stop times
- Optional free ASCOM interface
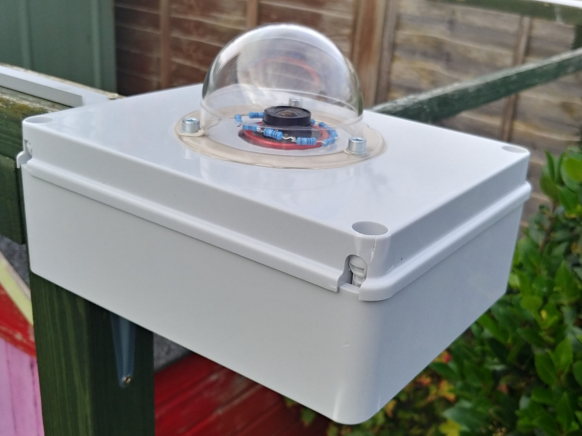
More information can be found in Keith’s Original Presentation.
Have you made one? Have other ideas on how to make an all sky camera? Leave a comment below
Building Dobsonian Mounts
Members Steve and Dave with some technical support from Keith have built another two Dobsonian telescopes for the society using donated Newtonian tubes, one is a 200mm F5 Skywatcher the other a 300mm F5.3 Orion Optics.
The design is the same as the previous Dobsonian mount they presented to the society last year, which is affectionately known as Anita.
The Telescopes are equipped with a ‘push-to’ system we call ‘Dob Buddy’ which was originally presented to the society by fellow member Simon. The Dob buddy allows members using an Android or Apple mobile device, equipped with Sky Safari Pro to locate difficult to find objects in the night sky with ease.
The Plans
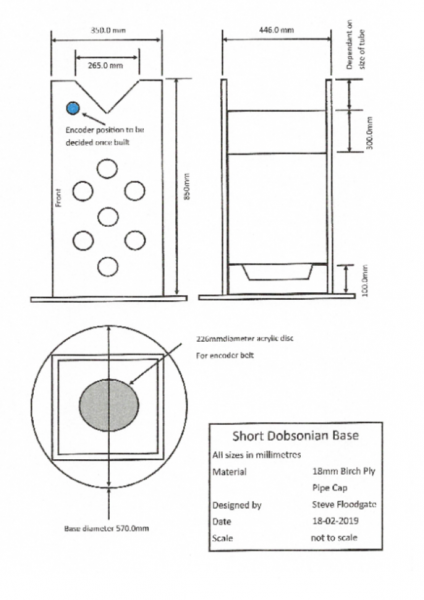
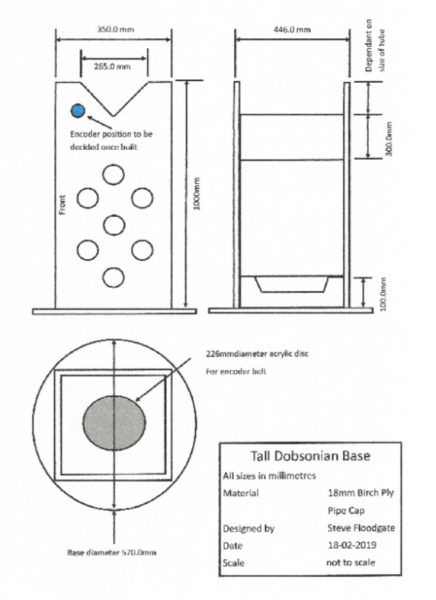
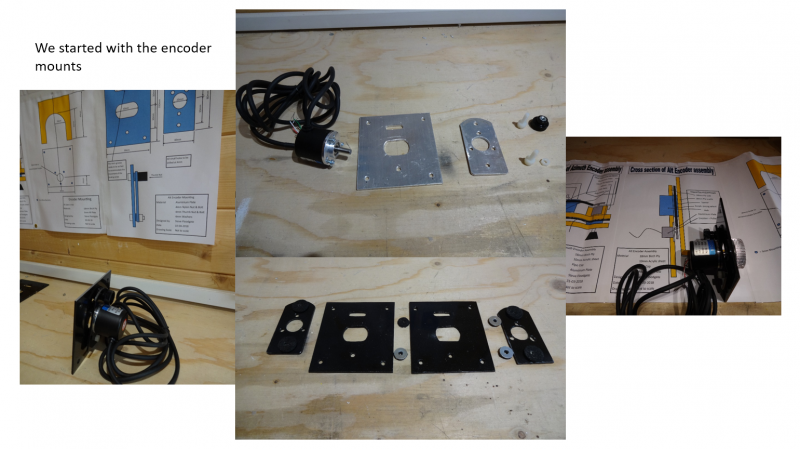
The Dob buddy system uses an Arduino with low resolution encoders couples to the mount with timing belts, this system results in a very high resolution encoder system for a fraction of the costs (the encoders are £8!), all the heavy lifting in terms of tracking the telescopes position is managed by the Sky Safari Pro software. The limitations of the Apple IOS operating system not being able to send data over Bluetooth are circumvented by providing Wi-fi access to Dob Buddy.
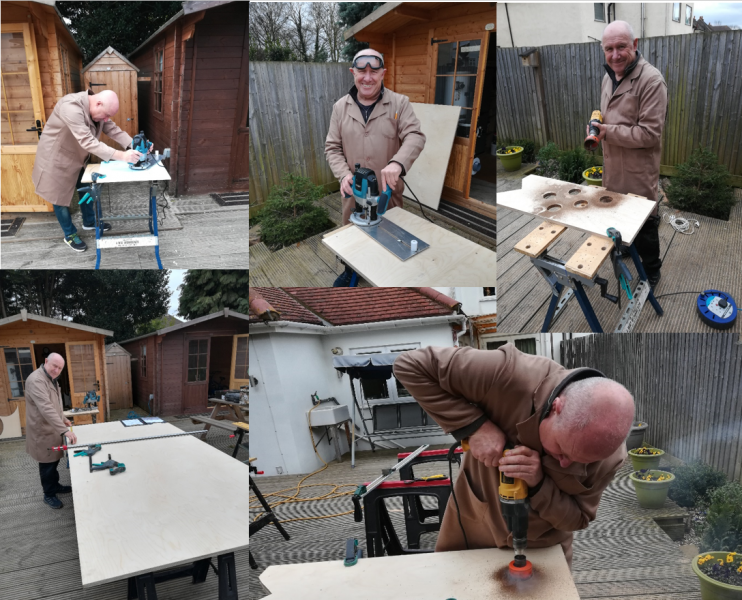
Two mounts were constructed from Birch faced ply. It was decided that Anita (our first Dobsonian) was a bit heavy, so the new Dob’s were put on a diet, by cutting holes in the ply.
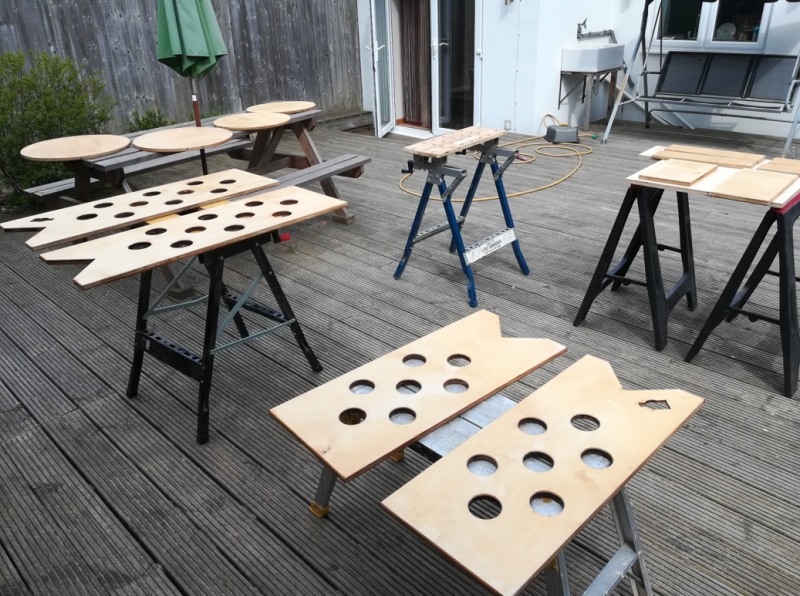
Parts ready for assembly.
Our Dobs are named after gifted musicians, because we used their vinyl LPs as a bearing for the azimuth mount.
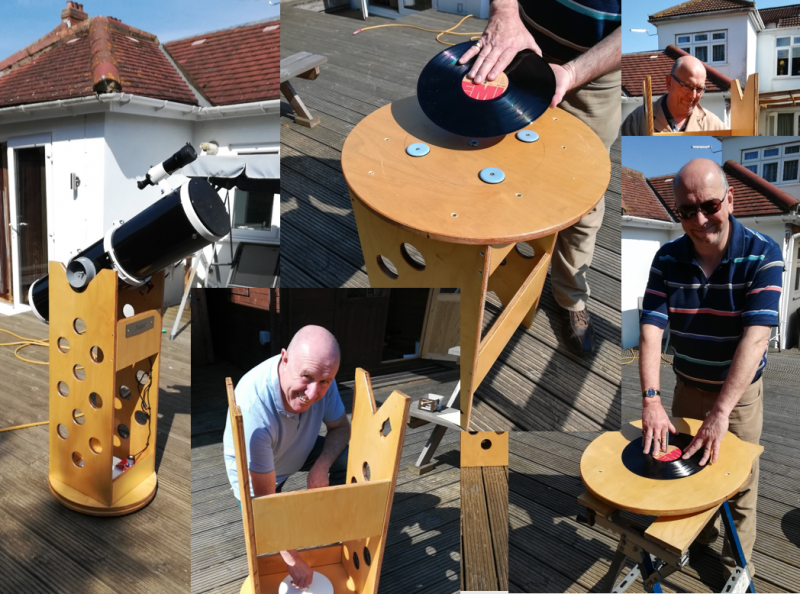
The design of the mounts for the altitude bearings was changed (compared to ‘Anita’) to again reduce weight and reuse as much as possible of the old ‘scopes.
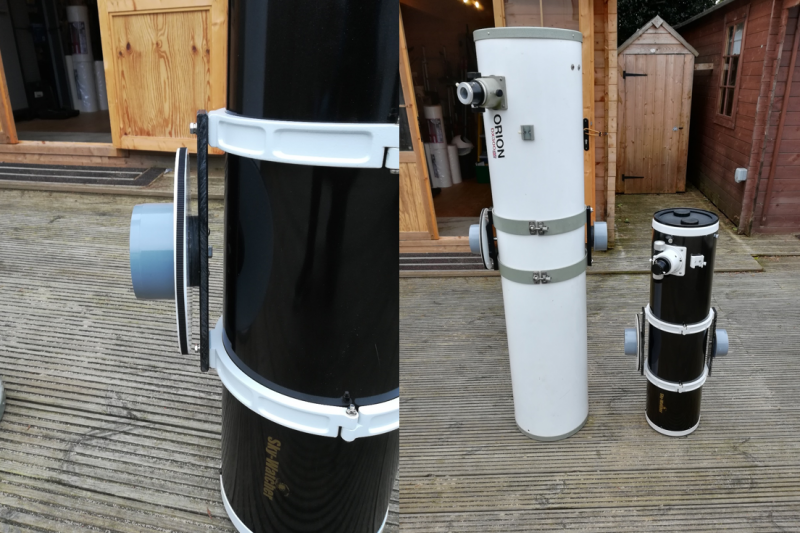 Our Dobs are named after gifted musicians, because we used their vinyl LPs as a bearing for the azimuth mount.
Isaac and Olivia complete.
Isaac and Olivia complete.
BAA Winchester Weekend 2022
At this years 2022 BAA Winchester weekend members Steve Floodgate and Dave Grist presented an update about their experiences of building Dobsonian telescopes for the society. Below is a link that you can click on to download a PDF version of the PowerPoint presentation they used at the event.
A DSLR Cooler
A DSLR, ideally one that has been modded to remove the filters is an accessible way to begin imaging, and I have successfully imaged using a ‘full spectrum mod’ Canon 600D for many years.
Unfortunately these cameras are not cooled and the sensor temperature (measured by the camera) runs about 15 degrees above the ambient air temperature. You can find cooled DSLR’s but these are very expensive, however by simply putting the DSLR into a box and cooling the box using a peltier cooler it is possible to cool the DSLR without any modification to the camera, delivering measurable improvements in noise.
Parts:
All parts are readily available on Amazon
- Water proof electrical case
- Expanding builders foam
- Peltier cooler
The approach is not unique, my cooler box was based on the design here
Making Dew Heater Bands and Controller
Introduction:
Dew heaters warm the optics of a telescope to prevent dew forming. Commercial control units and heater elements are available, however with a couple of hours, a soldering iron and a few tools, the control units and heaters can easily be constructed at home. As well as being a satisfying experience building astronomical accessories building these is also financially viable with a controller and as many heating elements as you need costing the price of a mid to low range control unit.
Control Unit
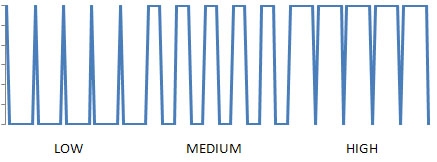
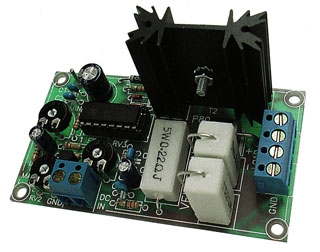
The control unit provides the ability to alter the amount of heat passing through the heater bands and the most efficient method is to switch the power to the heater elements on and off using a DC to pulse width converter, this varies the time the power is applied to change the average power to the heater bands. Fortunately, DC to pulse width converter circuits are available as simple kits from Velleman so do not require any electronics knowledge. The K8004 kit is specifically designed for the control of heaters, motors and lights and has short circuit protection and a maximum load of 6.5A – plenty for our purposes, this kit is about £13 (2010)
Heater Elements
Heater elements are made by passing a current through a resistive wire, the more current the more heat produced and the overall power can be calculated using Ohm’s law, Volts = Current x Resistance and Power = Current squared x Resistance.
Resistance wire is usually measured in Ohms per meter, and our heater bands have to be a specific length dictated by the overall circumference of the object the heater has to go around, although by looping the wire or connecting in parallel it is usually possible to get the correct length of wire for the power desired.
The simplest way to enclose the heater elements is to sow them onto floor foam, the type used on kitchen floors is ideal, this provides some substance to your heater bands and insulates them on the outside, I cut mine 100mm longer than the element to provide enough space to sow the lead on ensuring no force is put on the soldered connections.
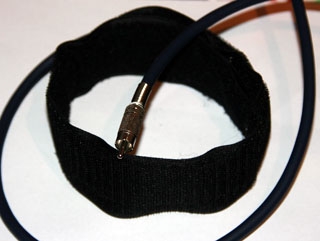
The element is then encased in a sleeve of hook and loop fabric.
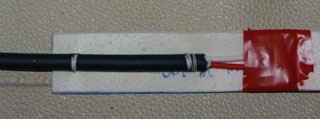
Cable sown onto element for high strength
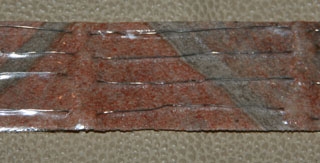
Heater element sown into foam, as much as possible is kept on the side that will touch the telescope
Some commercial dew bands suffer from low quality, short leads and/or low quality connectors so don’t scrimp here, High quality cable (road cable) and connectors will only cost a few pounds but really make your dew bands look superior to commercial equivalents.
No Results Found
The page you requested could not be found. Try refining your search, or use the navigation above to locate the post.
