Introduction:
Dew heaters warm the optics of a telescope to prevent dew forming. Commercial control units and heater elements are available, however with a couple of hours, a soldering iron and a few tools, the control units and heaters can easily be constructed at home. As well as being a satisfying experience building astronomical accessories building these is also financially viable with a controller and as many heating elements as you need costing the price of a mid to low range control unit.
Control Unit
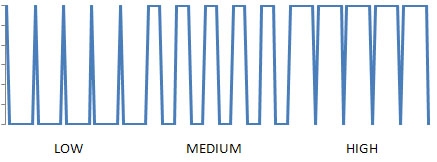
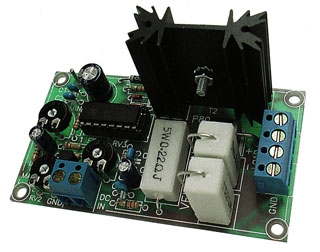
The control unit provides the ability to alter the amount of heat passing through the heater bands and the most efficient method is to switch the power to the heater elements on and off using a DC to pulse width converter, this varies the time the power is applied to change the average power to the heater bands. Fortunately, DC to pulse width converter circuits are available as simple kits from Velleman so do not require any electronics knowledge. The K8004 kit is specifically designed for the control of heaters, motors and lights and has short circuit protection and a maximum load of 6.5A – plenty for our purposes, this kit is about £13 (2010)
Heater Elements
Heater elements are made by passing a current through a resistive wire, the more current the more heat produced and the overall power can be calculated using Ohm’s law, Volts = Current x Resistance and Power = Current squared x Resistance.
Resistance wire is usually measured in Ohms per meter, and our heater bands have to be a specific length dictated by the overall circumference of the object the heater has to go around, although by looping the wire or connecting in parallel it is usually possible to get the correct length of wire for the power desired.
The simplest way to enclose the heater elements is to sow them onto floor foam, the type used on kitchen floors is ideal, this provides some substance to your heater bands and insulates them on the outside, I cut mine 100mm longer than the element to provide enough space to sow the lead on ensuring no force is put on the soldered connections.
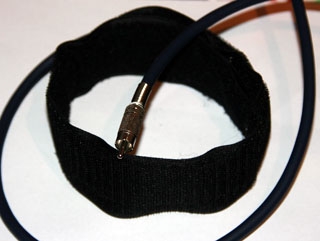
The element is then encased in a sleeve of hook and loop fabric.
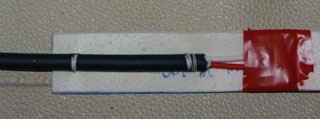
Cable sown onto element for high strength
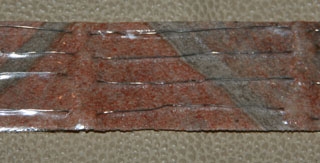
Heater element sown into foam, as much as possible is kept on the side that will touch the telescope
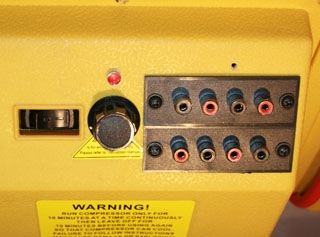
Some commercial dew bands suffer from low quality, short leads and/or low quality connectors so don’t scrimp here, High quality cable (road cable) and connectors will only cost a few pounds but really make your dew bands look superior to commercial equivalents.