Exoplanet Observing with the Unistellar eVscope by Dr. Mike Rushton

Exoplanet Observing with the Unistellar eVscope

Background

Over the last few years, a number of “Smart Telescopes” have been developed for amateur use.

These typically consist of a relative narrow optical train attached to an automated mount. They have software to provide plate solving, tracking and image stacking. They are easy to setup and use.

They have relatively narrow fields and due to their short focal lengths (as well as small apertures) and are best suited to imaging small deep-sky objects.

Unistellar – a French Company setup in 2016 with £2m+ Kickstarter funding – first delivered its scope commercially in 2021. Unlike their competitors they foresaw the possibility of using them for science as well as taking pretty pictures. They partnered with SETI in Mountainview California to produce a program which included exoplanet transit observations.

At 4.5” aperture the scopes are considered too small to take part in the ExoClock program.

Exoplanet Observation

SETI produces a list of favoured targets for study. This is based mostly on the NASA requested targets for the TESS satellite. There are about 12,000 eVscope located all around the world but principally in Europe, the USA and Japan. These were the regions where the scopes were first marketed. About 1500 of these have been registered to the “Science” program and of those my impression is about 100 have been actively used for exoplanet observation. The figures for the week commencing 5/5/24 were 48 observations by 38 observers of 13 targets.

Although there are now several different models of eVscope they are all based around the same optical configuration. This is important as it makes combining data from different scopes relatively easy. SETI have set up a data reduction pipeline that takes uploaded raw frames from participating scopes and produces graphical and numerical output which is returned to participants via a Slack channel. When appropriate, the data from telescopes in different time zones can be combined to allow observations which are impossible from a single site.

This enables long transits to be observed and also long observations of poorly known timings to be tackled. Recently, the program has included candidates whose transits have only been captured 2 or 3 times. The aim is to see if there are any intermediate transits that would suggest a shorter period than originally calculated.

The latest combined observation attempt involved HIP 41378f which has a period of 542 days and transits lasting 19 hours. The ingress was timed to be first visible in S America and then egress in Western Europe. Individual observers were requested to make 2-4 hour observations during the time the star was at least 25 deg above the horizon. The plan was to have the star under continuous observation for 35 hours! (Most people were going to see no transit!). This therefore also included observers in Japan and Australia. 26 telescopes provided data. The results are awaited.

It is possible for single observers to choose their own targets (Usually from the Swarthmore database -astro.swarthmore.edu) and then do their own analysis. Until recently that involved requesting the data from the SETI servers to which it had been sent directly by the telescope’s internal software. This was slow and tedious, involving downloading about 10GB of data which had previously been sent to them. After lobbying from the users, it is now possible to download the data straight from the telescope to a local laptop.

My personal impression is that these scopes will never substitute for results from 8”+ aperture scopes but their uniformity and world-wide distribution plus consistent data reduction means that they have a place in Exoplanet observation.


Mike Rushton

Congratulations to Dave Grist & Steve Floodgate

A huge congratulations to CMHASD members Dave Grist and Steve Floodgate for receiving the BAA Horace Dall medal & gift this year. 

Chairman John Archer wrote ''For anyone who travelled up to the Institute of Physics last Saturday or tuned in via Zoom for the BAA meeting would have seen this year’s recipients of the Horace Dall medal & gift – “The award shall be made to a person, whether or not a member of the Association, who has shown marked ability in the making of Astronomical Instruments. If two or more people have been jointly concerned in a particular work then each person may receive a medal and gift.” This year the worthy recipients were our very own Dave Grist and Steve Floodgate, expert converters of spare and unloved telescopes into fantastically popular and fun to use Dobsonians. Well done both of you – we’re proud of your achievements and grateful for your continued efforts contributing to the Society practical observing and outreach.''

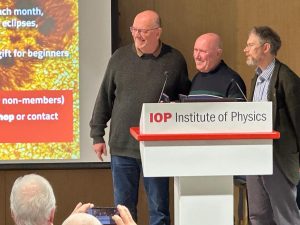
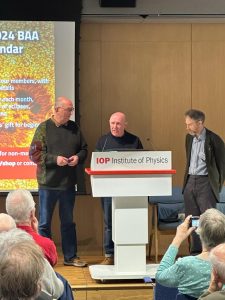
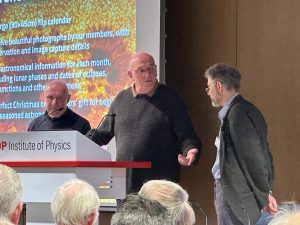
Below is a selection of photos showing Dave & Steve being presented with their medals by the President of the BAA David Arditti on Saturday 9th December 2023 at the BAA Christmas Meeting.  Well done guys :-)

New Society Solar Projector built by member George Buckberry – Society Meeting – 2023.01.26

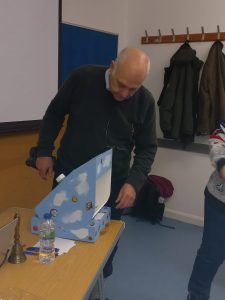
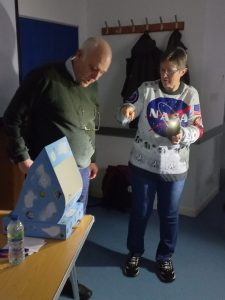
Member George Buckberry with his hand built Solar Projector

Last week following our Society meeting on the 26th January 2023, we learned about the design and construction of a table-top solar projector built by George Buckberry. After all of the effort involved in building the projector, George has very kindly donated it to the Society for use by members and also as a means of educating the public at one of our outreach events. Thank you George for your very kind donation.

Below is a link to George's PowerPoint presentation of how George built the Solar Projector in the form of a PDF file which you can download. 

SolarScope Design & Build by George Buckberry of CMHASD

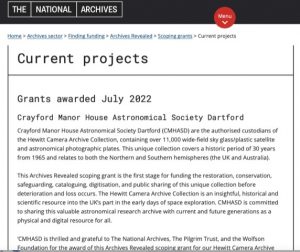
Crayford Manor House Astronomical Society Dartford awarded National Archives; Archives Revealed Scoping Grant

Some very good news announced yesterday 21st July 2022 - The National Archives; Archives Revealed Scoping Grant has been awarded to CMHASD to assess the value and future of our Hewitt Camera Archive Collection!


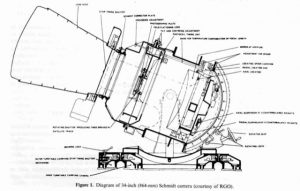
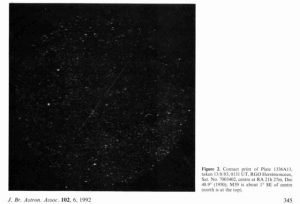
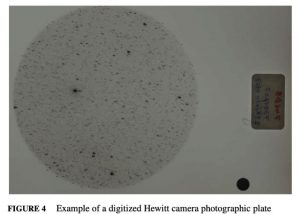
Crayford Manor House Astronomical Society Dartford (CMHASD) are the authorised custodians of the Hewitt Camera Archive Collection, containing over 11,000 wide-field sky glass/plastic satellite and astronomical photographic plates. This unique collection covers a historic period of 30 years from 1965 and relates to both the Northern and Southern hemispheres (the UK and Australia). 

This Archives Revealed scoping grant is the first stage for funding the restoration, conservation, safeguarding, cataloguing, digitisation, and public sharing of this unique collection before deterioration and loss occurs. The Hewitt Camera Archive Collection is an insightful, historical and scientific resource into the UK’s part in the early days of space exploration. CMHASD is committed to sharing this valuable astronomical research archive with current and future generations as a physical and digital resource for all.

Quote from CMHASD President John Archer: "CMHASD is thrilled and grateful to The National Archives, The Pilgrim Trust, and the Wolfson Foundation for the award of this Archives Revealed scoping grant for our Hewitt Camera Archive Collection. This grant will enable our small charitable society to fund expert opinion and guidance to assess the digitisation, cataloguing, and planning towards making this unique UK space history and astronomical photographic collection safe and publicly available to the world. So…watch this space!”
 
 
The Society would like to thank Gary Hunt and team for your efforts securing the scoping grant.  Fantastic news & well done!
 
Gary wrote 'This is exciting news but this is only the first step on what may be a long journey? Further substantial funding will be required to undertake the completion our objectives derived from the outcomes of the forthcoming Archives Revealed scoping report. The scoping report will determine the value (in terms of scientific, cultural and historical context) of the CMHASD Hewitt Camera Archive Collection and will also make recommendations on how to maximise exploitation and preservation of the collection. 

We are grateful for this opportunity to move the current situation on and provide future access of the Hewitt Camera Archive Collection to the world before it further degrades or suffers calamity!

We are always grateful for offers of help or ideas for achieving our objective of fulfilling our solemn commitment to keeping the Hewitt Camera Archive Collection safe and allowing full exploitation by the astronomical, scientific, historical community… and lets not forget yourself!'


Making a Hi-Res Solar Telescope

[et_pb_section fb_built="1" theme_builder_area="post_content" _builder_version="4.17.4" _module_preset="default"][et_pb_row _builder_version="4.17.4" _module_preset="default" theme_builder_area="post_content"][et_pb_column _builder_version="4.17.4" _module_preset="default" type="4_4" theme_builder_area="post_content"][et_pb_text _builder_version="4.17.4" _module_preset="default" theme_builder_area="post_content" hover_enabled="0" sticky_enabled="0"]

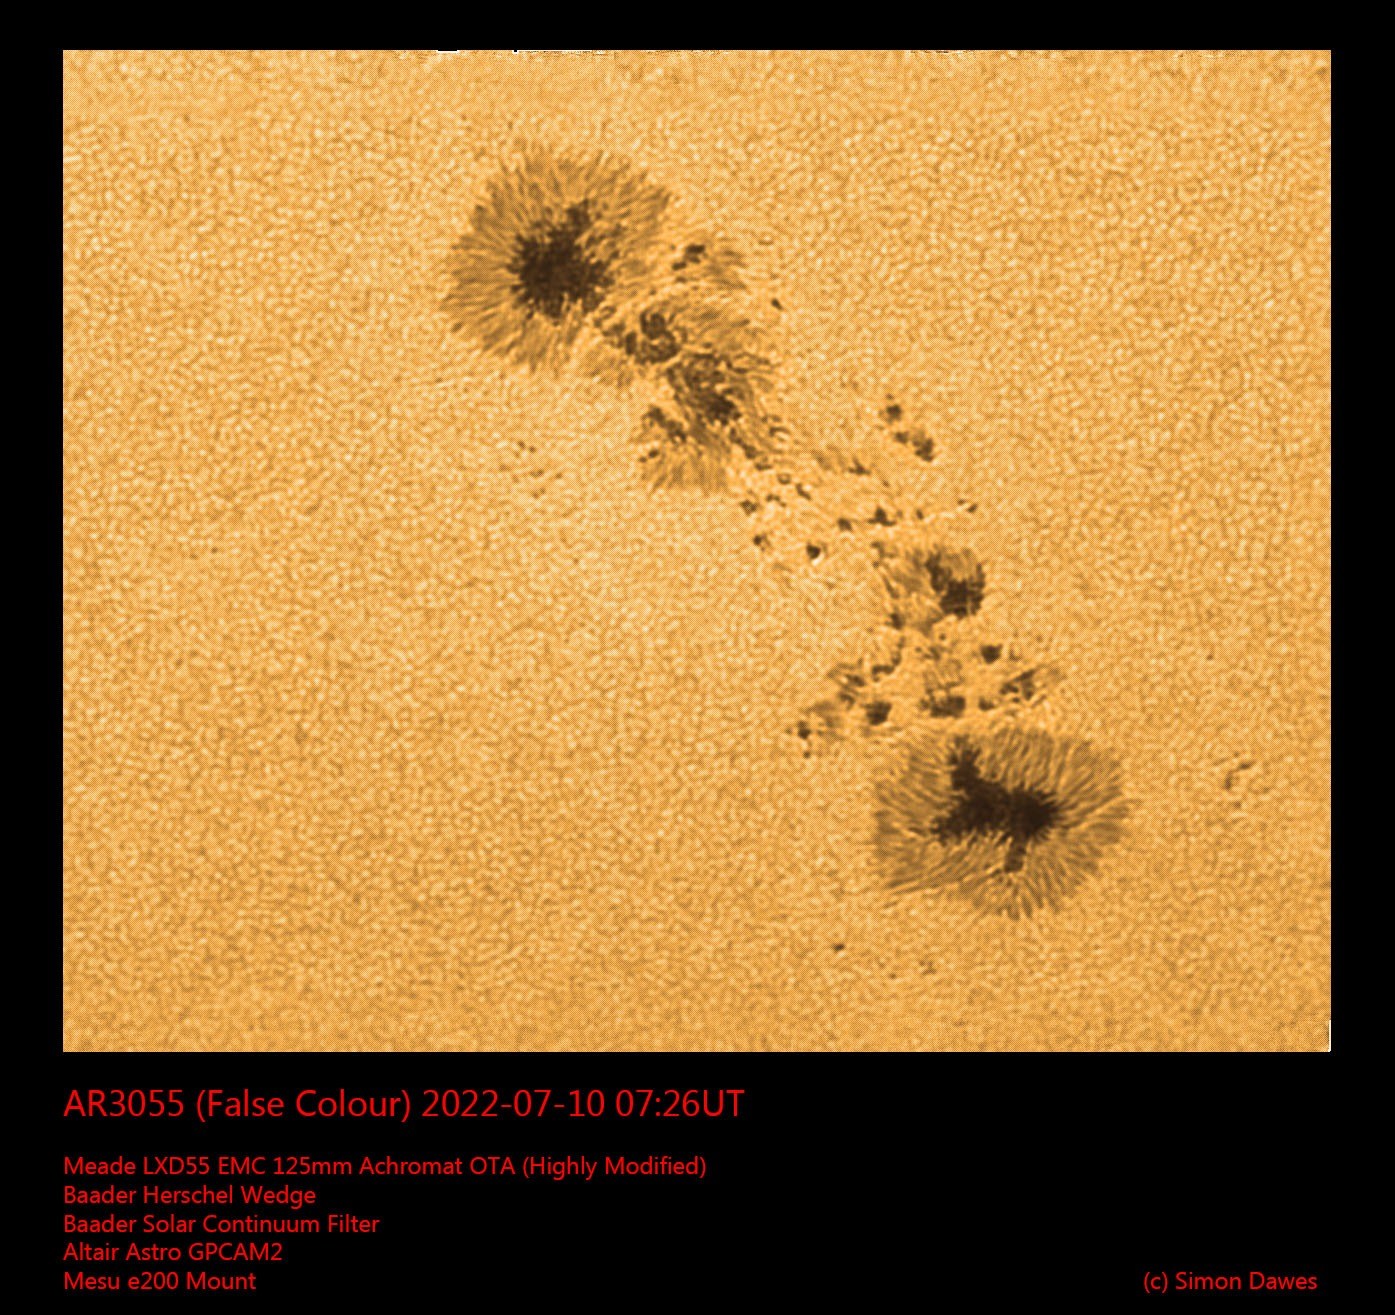
Simon modified a cheap, old and unused telescope with significant chromatic aberration into a super high resolution Solar telescope, his video below explains how he did it. 

[/et_pb_text][et_pb_code _builder_version="4.17.4" _module_preset="default" theme_builder_area="post_content" admin_label="youtube video" hover_enabled="0" sticky_enabled="0"][/et_pb_code][et_pb_text _builder_version="4.17.4" _module_preset="default" theme_builder_area="post_content" hover_enabled="0" sticky_enabled="0"]

[caption id="" align="aligncenter" width="1395"]Simon-Dawes-Sunspot-3-10th-July-2022-WhatsApp-Image-2022-07-10-at-10.19.04-AM Image taken with Simon's hi-res Solar Telescope.[/caption]
[/et_pb_text][/et_pb_column][/et_pb_row][/et_pb_section]

Making a Solar Filter for my Skywatcher 190MN

[et_pb_section fb_built="1" _builder_version="4.17.4" _module_preset="default" global_colors_info="{}"][et_pb_row _builder_version="4.17.4" _module_preset="default" global_colors_info="{}"][et_pb_column type="4_4" _builder_version="4.17.4" _module_preset="default" global_colors_info="{}"][et_pb_text _builder_version="4.17.4" _module_preset="default" hover_enabled="0" global_colors_info="{}" sticky_enabled="0"]

NEVER LOOK AT THE SUN DIRECTLY. Please click here for solar observing safely.

My Skywatcher 190MN telescope has a very wide field of view I can easily fit the full Moon or Sun on the chip, so I thought I'd get myself some Baader solar Safety Film and make myself a solar filter - the video below shows how i made it and shows some early results. Check-out our solar section for more images.

[/et_pb_text][et_pb_code _builder_version="4.17.4" _module_preset="default" global_colors_info="{}"][/et_pb_code][/et_pb_column][/et_pb_row][/et_pb_section]

Mesu e200 Mount Unboxing and Assembly

[et_pb_section fb_built="1" theme_builder_area="post_content" _builder_version="4.17.4" _module_preset="default"][et_pb_row _builder_version="4.17.4" _module_preset="default" theme_builder_area="post_content"][et_pb_column _builder_version="4.17.4" _module_preset="default" type="4_4" theme_builder_area="post_content"][et_pb_text _builder_version="4.17.4" _module_preset="default" theme_builder_area="post_content" hover_enabled="0" sticky_enabled="0"]

I recently bought a Mesu e200 (also know as the Mesu MKII) mount. This mount uses friction rather than gears so doesn't have any backlash, it is incredibly accurate and can handle a load of 100Kg (that's 18 stone! or over 200lb!)

Check-out the video for the full unboxing and assembly - the video isn't a review but you will get an idea of the quality from this video. Whilst the mount is expensive, it is far more economical than equivalent mounts, other owners have sold their Paramount's  in order to fund buying more of these - they really are good.


[/et_pb_text][et_pb_code _builder_version="4.17.4" _module_preset="default" theme_builder_area="post_content" hover_enabled="0" sticky_enabled="0"][/et_pb_code][/et_pb_column][/et_pb_row][/et_pb_section]

Dobsonian Telescope Mount – flat pack

[et_pb_section fb_built="1" _builder_version="4.16" global_colors_info="{}"][et_pb_row _builder_version="4.16" background_size="initial" background_position="top_left" background_repeat="repeat" global_colors_info="{}"][et_pb_column type="4_4" _builder_version="4.16" custom_padding="|||" global_colors_info="{}" custom_padding__hover="|||"][et_pb_text _builder_version="4.17.4" background_size="initial" background_position="top_left" background_repeat="repeat" hover_enabled="0" global_colors_info="{}" sticky_enabled="0"]

In this video Simon Dawes builds a Dobsonian telescope mount for Keith that folds flat for transport.

[/et_pb_text][et_pb_code _builder_version="4.17.4" _module_preset="default" admin_label="youtube video" hover_enabled="0" sticky_enabled="0"][/et_pb_code][/et_pb_column][/et_pb_row][/et_pb_section]

EQ6 Belt Drive Mod

[et_pb_section fb_built="1" _builder_version="4.4.0"][et_pb_row _builder_version="4.4.0"][et_pb_column type="4_4" _builder_version="4.4.0"][et_pb_text admin_label="Image of worm gears with belts" _builder_version="4.4.0"]

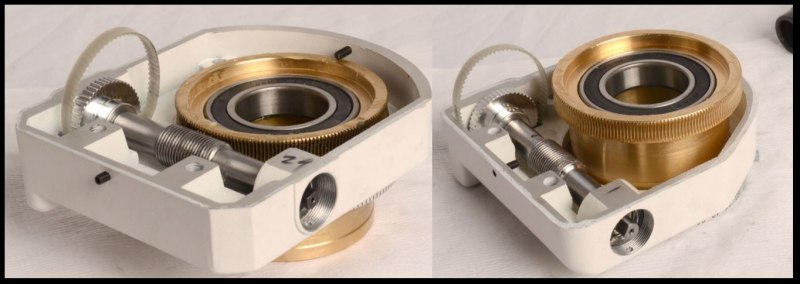
[caption id="" align="aligncenter" width="800"]EQ6-belt-mod0 The EQ6 Belt mod replaces the brass gears with a timing belt to reduce errors and remove backlash.[/caption]
[/et_pb_text][et_pb_text _builder_version="4.4.0"]

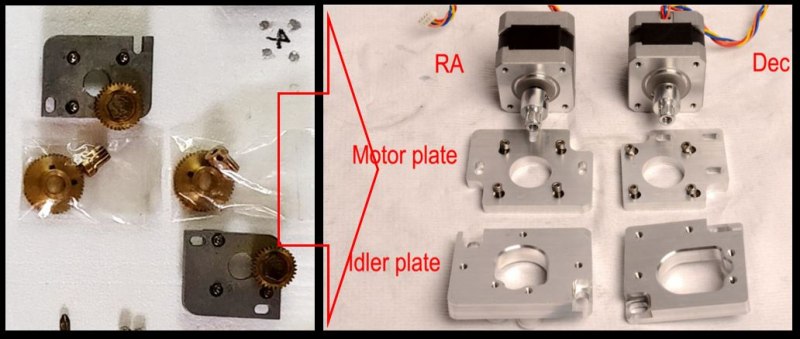
The EQ6 has standard brass gears on the stepper motor and worm gear, with a ‘transfer’ gear to translate the stepper motion to the worm gear.

These gears introduce errors and backlash, the belt drive mod is designed to replace these gears with a timing belt

[/et_pb_text][et_pb_text admin_label="The old and new parts image" _builder_version="4.4.0"]

[caption id="" align="aligncenter" width="800"]EQ6-belt-mod1 The old and new parts[/caption]

[/et_pb_text][et_pb_text _builder_version="4.4.0" hover_enabled="0"]

Replacement of the gears for a belt drive is straightforward but will take a day to do properly. Instructions are provided with the kit from Rowan Astronomy and another useful resource is the hyper-tune instructions from astro-baby.com

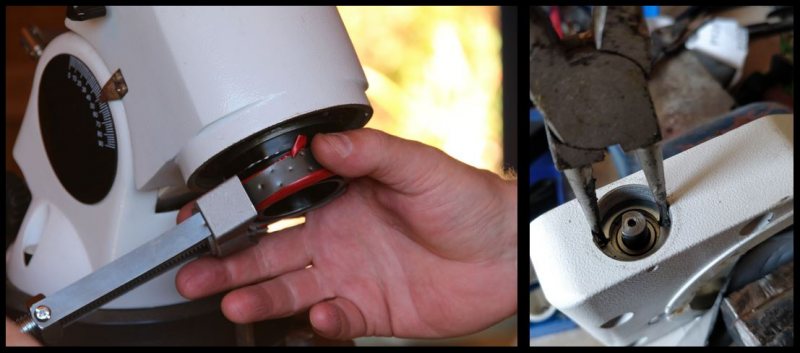
There are a couple of tricky steps

  1. Removing the adapter at the bottom of the polar scope shaft – you will need a steal belt, oil filter wrench (from Halfords)
  2. Removing the worm gear caps and the worm gear retaining ring, these can be removed using pointed pose plyers, but you risk damaging the caps if you slip, a better approach is to use the specially designed tool (available from Rowan Astronomy)
  3. The bolts holding the mount together are steel bolts with M6 threads tapped into the aluminium body – it is very easy to strip the threads be vary careful – if you do strip them you can repair them easily with a Helicoil thread repair kit.

[/et_pb_text][et_pb_text admin_label=" Some of the tricky steps image" _builder_version="4.4.0"]

[caption id="" align="aligncenter" width="800"]EQ6-belt-mod2 Some of the tricky steps[/caption]

[/et_pb_text][et_pb_text admin_label="Image of belts" _builder_version="4.4.0"]

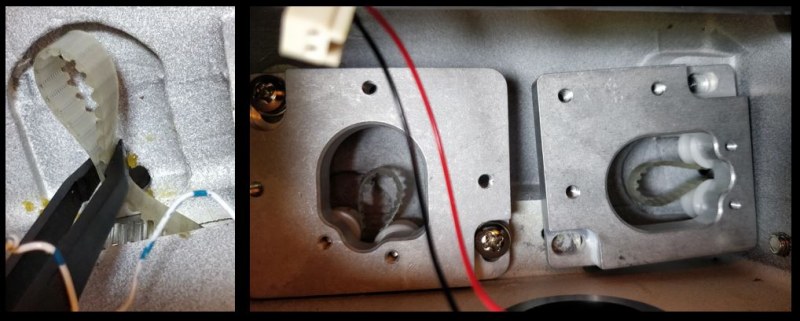
[caption id="" align="aligncenter" width="800"]EQ6-belt-mod3 Threading the belts through the guides can also be tricky, locking tweezers help a lot![/caption]

[/et_pb_text][et_pb_text _builder_version="4.4.0"]

Fitting the belts is easier if you have locking tweezers, but it can be done with your fingers - if you are nimble – there is not much room to manoeuvre inside the mount.

[/et_pb_text][et_pb_text admin_label="parts image" _builder_version="4.4.0"]

[caption id="" align="aligncenter" width="725"]EQ6-belt-mod4 The disassembly required to fit the belt mod.[/caption]
[/et_pb_text][/et_pb_column][/et_pb_row][/et_pb_section]

EQ6 Hyper Tune

[et_pb_section fb_built="1" _builder_version="4.4.0"][et_pb_row _builder_version="4.4.0"][et_pb_column type="4_4" _builder_version="4.4.0"][et_pb_text _builder_version="4.4.0"]

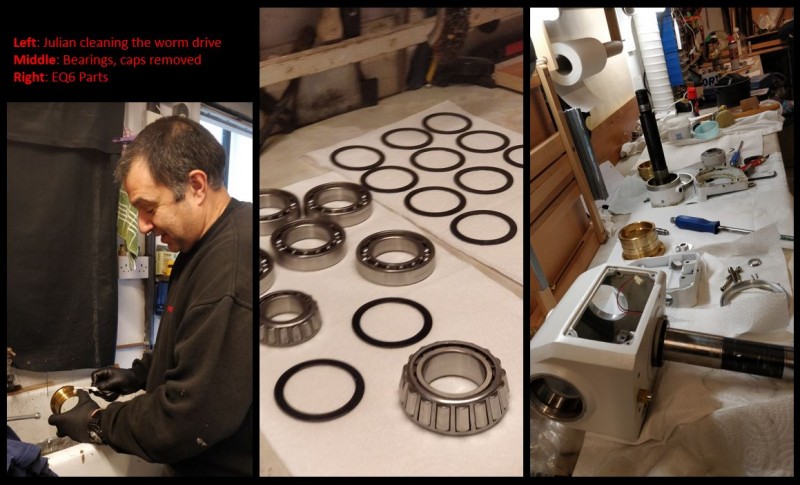
The EQ6 hyper tune is a procedure to strip down and rebuild your mount to improve performance, the exact details are best followed from astro-baby.com so I won't copy them here. The tune-up includes replacing the plastic shims and replacing them with PTFE ones and replacing the bearings, I replaced the small worm gear bearings and cleaned and re-greased the large bearings.

The best attitude to take when doing this modification is slow and deliberate, if something is not going well or as described in the instructions the best course of action is to stop, have a cup of tea, re-read the instructions and try again.

I took the time to make-up an EQ6 tool set, this includes all the tools needed for the hyper tume, most are common tools you are likely to have available such as screwdrivers and allen keys, the two less common tools are the metal band oil filter wrench (available from Halfords) and the worm bearing cap and retainer removal tool (available from Rowan Astronomy - makers of the EQ6 belt drive mod) the latter you can get away with pointy nosed plyers but you are more likely to scratch the caps without the tool.


[/et_pb_text][et_pb_text admin_label="Tools image" _builder_version="4.4.0"]

[caption id="" align="aligncenter" width="800"]EQ6-Tools All the tools needed for a strip-down and rebuild of the EQ6 mount. A long flat-bladed screwdriver, digital micrometre and locking tweezers are also useful but not essential.[/caption]

[/et_pb_text][et_pb_text _builder_version="4.4.0"]

The strip-down and rebuild took a total of 20 hours, requires a lot of space and somewhere reasonably clean to lay everything out. It is straightforward if you are mechanically minded, but is a large commitment of time. 

To complete the hyper tune required the following parts and consumables.

  • 2 rolls of paper towels
  • 2L of white spirit
  • old tooth brush - for cleaning parts
  • clean containers - e.g. ice cream tubs for cleaning parts
  • lithium grease for re-greasing bearings and all parts
  • PTFE shims of various thicknesses to replace the plastic shims 
  • New bearings (I just changed the small worm gear bearings)

Expect to spend about £60 on these parts

[/et_pb_text][et_pb_text admin_label="parts" _builder_version="4.4.0"]

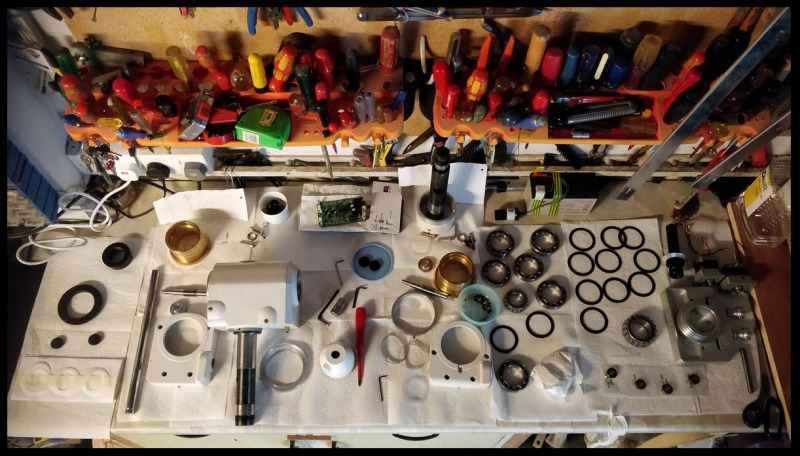
[caption id="" align="aligncenter" width="800"]EQ6-HyperTune2 EQ6 parts laid out on the workbench, note the old (bottom middle) and new PTFE shims (bottom left)[/caption]
[/et_pb_text][et_pb_text _builder_version="4.4.0"]

There was a lot of dirt and grit in the main bearings, quite how this gets in, given they have never been taken apart, is beyond me. To re-grease them requires removing the bearing caps that seal the bearings in, this was done using a modified modelling knife. The bearings were then de-greased using white spirit, the process of removing all the dirt from the bearings took a long time, we kept spinning the bearings in the white spirit to dislodge the dirt until no bits were visible in the pot, regularly changing the white spirit. They were then left to dry naturally on paper towel and before re-greasing were warmed with a hot air gun to ensure all the white spirit had evaporated.

[/et_pb_text][et_pb_text admin_label="cleaning parts image" _builder_version="4.4.0"]

[caption id="" align="aligncenter" width="800"]EQ6-HyperTune1 Cleaning all the parts[/caption]

[/et_pb_text][et_pb_text _builder_version="4.4.0"]

Any parts that required cosmetic repairs were repainted and I also replaced all the rusty screws with new ones.

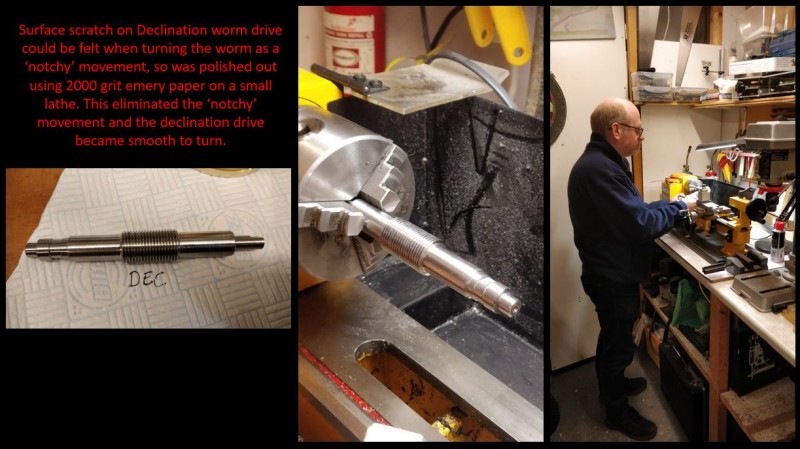
When we reassembled the EQ6 the Declination worm felt 'notchy', so we took the EQ6 apart again and inspected the worm gear, it had a small surface scratch, almost too small to see, but this scratch was getting amplified in the mount, so we polished it out using 2000 grip emery paper on a lathe (you could probably do this in a drill if you don't have a lathe), this cured the problem.

[/et_pb_text][et_pb_text admin_label="worm gear repair image" _builder_version="4.4.0"]

[caption id="" align="aligncenter" width="800"]EQ6-HyperTune3 Declination worm gear being repaired on the lathe, which was simply a matter of polishing out a surface scratch.[/caption]

[/et_pb_text][et_pb_text _builder_version="4.4.0"]

A massive thank you to Julian Tworek for offering to help complete the hyper-tune, Julian's patience, experience and perfectionism is exactly what is required to complete this project successfully.

[/et_pb_text][/et_pb_column][/et_pb_row][/et_pb_section]

TOP
Protected by CleanTalk Anti-Spam