[et_pb_section bb_built="1"][et_pb_row][et_pb_column type="4_4"][et_pb_text _builder_version="3.12"]
By Neil Webster
CASTOR: a six-star system
αGEM Σ 1110
RA 07 35
Dec 31 53
Castor was discovered in 1678 by G.D. Cassini and formally classified as a true “binary” in 1803 by William Herschel. The system lies at a distance of about 52 light years and is a six star system.
The AB components comprise two blue-white stars separated by 5 arc seconds with magnitudes 1.9, 3.0 and spectral types A1V and A2V and an orbital period of 467 years. These are, in turn, spectroscopic binaries giving a four-star configuration.
In addition, a faint orange companion C star (magnitude 8.9 – 9.60) at a separation of 70.5” can be seen. This is, in fact, two orange dwarf stars (Spectral types M0V) that orbit one another in less than a day and is an eclipsing binary to our line of sight known as YY Gem.
The orbital period of the AB to C system is unknown but is thought to be of the order of 10,000 years.
An amazing sextuple system!!
REGULUS
αLEO Σ II 6
RA 10 08
Dec 11 58
Regulus is a four star system comprising two stellar pairs. The blue-white primary (B7V, 3.8 solar masses) pairs with a yet to be visually observed hypothesised White Dwarf star of 0.3 solar masses (detected via spectroscopy). These orbit over a short 40 day period. Regulus is observed to be spinning rapidly with a distorted shape (possible due to gravitational interaction with the white dwarf?).
At a separation of 177 arc seconds lies the secondary which is also a contained binary common proper motion pair with an orbital period of 2000 years. The two components have spectral types K2V and M4V with magnitudes 8.14 and 13.5.
Mizar and Alcor
RA 13 23 55.5
Dec 54 55 31
Mizar (magnitude 2.23, spectral class A1V) was first seen visually by Castelli in 1617 and through a telescope in 1650. It was one of the first double stars to be photographed by Bond in 1857. Its companion can be seen clearly at a separation 0f 14 arc seconds. Mizar A was also the first star found to be a double via spectroscopy (1889) and later its companion B (also A class) was also shown to be a spectroscopic binary making Mizar a quadruple system.
At a larger separation of 707 arc seconds lies Alcor (3.99, A5V) which is also a spectroscopic binary with a red dwarf companion.
Mizar and Alcor’s proper motions have long been observed to be similar but as they are part of the Ursa Major moving group a true gravitational connection between the two was in doubt. However, it has recently been proven (2009) by two separate teams that Mizar and Alcor represent a true binary system at a distance of about 83 light years.
Algieba
Gamma LEO
RA 10 19 58
Dec 19 50 29
Algieba is a true double star comprising two giants with yellow-white colourations at an angular separation of 4 arc seconds. It was first observed by William Herschel in 1782.
The primary star (K0III, 2.28) has a surface temperature of 4, 470 K, a luminosity 180 x that of the Sun and a diameter 23 x the Sun.
The companion star (G5111, 3.64) has a temperature of 4, 980 K a luminosity of 50 Suns and a diameter 10 times the Sun.
The orbital period is 500 years.
Iota Cancri
RA 08 46 42
Dec 28 45 36
The A component lies at a distance of 298 light years and is a G8II spectral type with apparent magnitude 4.02. This yellow/orange star has evolved off the Main Sequence and has a high Fe abundance.
Its companion is a blue-white Main Sequence star (A3V) with magnitude 6.57 and lies at a distance of 2800 A.U.
The angular separation is 30.6 arc seconds and the orbital period is a staggering 65, 000 years!
The pair are often referred to as the “Spring Albireo”.
Cor Caroli
RA 12 56 02
Dec 38 19 06
Cor Caroli (Charles’ Heart) was first observed by William Herschel and named in honour of Charles I (or II?) in 1660. It is a binary system at a distance of 110 light years with an angular separation of 19.6 arc seconds.
The primary is an A0 “chemically peculiar” star whose magnitude varies between 2.84 and 2.98 over a period of 5.47 days. This variability is thought to be due to a powerful magnetic field (5000x that of the Earth) giving rise to starspots that vary in intensity during the star’s rotation period.
The secondary is an F-type Main Sequence star of magnitude 5.60.
It is suspected that each component may also be a spectroscopic binary.
Virtually no change has been observed in the system’s configuration since 1830 leading to a calculated large orbital period of 7, 900 years.
Iota Bootis
RA 14 16
DEC 51 22
Iota Bootis (Asellus Secundus: Second Donkey Colt??) lies at an approximate distance of 97 light years and is a true double with a third very faint unrelated member,
The primary is an A-type Main Sequence dwarf that is a Delta Scuti variable star. Precise measurements are needed but the magnitude varies between 4.73 and 4.78 over separate pulsation periods of 38.22 and 30.55 minutes.
B is a A2 type star of apparent magnitude 8.27 (7.5).
Kappa Bootis
RA 14 13
DEC 51 47
Kappa Bootis (Asellus Tertius: third donkey colt) lies at a distance of 155 light years and is a triple star system.
The primary is an A7 subgiant (magnitude 4.54) with a surface temperature of 7830K. It is about to end its H-core burning phase and swell to a Red Giant. It is classified as a Delta Scuti variable with a period of 1.56 hours and has a faint binary companion (combined orbital period of 4.9 years).
The secondary (magnitude 6.6) is an F1V dwarf star with an estimated surface temperature of 6835K.
The primary and secondary orbit over at least 6,000 (from observed partial orbit) to 8,700 (theoretical) years.
Mu Bootis
RA 15 24
DEC 37 23
Mu Bootis/Alkalurops (“club”, “shepherd’s Staff”) is a triple system at a distance of 121 light years.
The primary is a yellow-white magnitude 4.31, F-type subgiant that is suspected to be variable and to have an orbiting companion.
At a separation of 109.4 arc-seconds lies the main binary secondary system of two G1 Dwarf stars (magnitudes 7.2, 7.8) orbiting over a 260 year period at an average separation of 2.2 arc-seconds.
Delta Cyg
RA 19 45
DEC 45 08
The dominant primary is a late Main Sequence B class supergiant star of magnitude 2.9, with a luminosity 180 x the Sun, a radius of 4.7 solar radii and a mass of 3.5 solar masses. It is known to be spinning rapidly (135 km/s at the stellar equator) producing an ellipsoidal shape.
The secondary is a yellow-white F-class star with a luminosity 6x the Sun and a mass of 1.5 solar masses. Its magnitude is 6.3 and as it is only 2.5 arc seconds from the primary it can be a challenge requiring steady, clear seeing! The position angle is 217 degrees.
A further two companion stars have been reported consisting of two pairing each 3 arc-seconds apart lying at distances of 42 and 148 arc seconds from the primary. Other sources report a single orange companion however??
AB has an orbital period of 918 years and lies at a distance of 170 light-years.
Albireo (Beta Cyg)
RA 19 30
DEC 27 57
A classic “showcase double” Albireo is actually a triple (or maybe quintuple) system and was first observed by Flamsteed in 1691.
The primary is an orange class K helium fusing star with a temperature of 4400 K, a luminosity 950 x the Sun, a radius of 50 solar radii and a mass 5x that of the Sun. Spectral analysis revealed it to have a varying radial velocity and a companion was clarified by speckle interferometry. It is a late class B9 dwarf star with a temperature of 11,000 K, a luminosity 0f 100 Suns and a mass 3.2 x that of the Sun. Partial orbit measurements have led to period estimates ranging from 100 – 213 years. The two stars are separated by 0.4 arc-seconds.
The secondary blue star is a B8 dwarf with a temperature of 12,100 K, a luminosity of 190 Suns and a mass of 3.3 Suns. It is a rapid rotator (250 km/s at the equator) completing an orbit in 0.6 Earth days. This gives rise to a surrounding disc of gas.
It is not certain that Albireo is a true “binary system” but, if it is, it has an orbital period of around 100,000 years.
Epsilon Lyra: “Double-Double”
RA 18 44
DEC 39 40
This system consists of four A-class white stars organised into two pairs of binaries.
Epsilon 1 has two stars of magnitudes 4.7 and 6.2 separated by 2.6 arc-seconds orbiting one another in around 1200 years.
Epsilon 2 has stars of magnitudes 5.1 and 5.3 orbiting in a period of 600 years (less precise).
The two systems are thought to orbit one another in about 1000 years and are currently separated by 208 arc seconds.
Precise measurements only began in the 1980s but in 1986 a further companion star was revealed by interferometry giving a five-star system.
However, it is thought that other surrounding faint stars could be part of the system and that the total count could be ten revealing a complex, fascinating gravitational world.
Rasalgethi (α Her)
A 17 14
DEC 14 23
Rasalgethi (Emperor’s Seat) is a triple (quintuple?) system lying 380 light years away.
The primary (magnitude 3.5) is a M5IIvar red bright giant that varies by a magnitude over a 14 year period. It is near the end of its life and undergoing mass-loss giving it an extended gaseous envelope. Speckle interferometry has further hinted at a very close companion star.
The secondary is a double star consisting of a primary yellow giant (G5III) and a secondary yellow-white dwarf (F2V) with a combined magnitude of 5.4).
The overall orbit is around 3600 years.
Nu Draco
RA 17 32
DEC 55 11
Nu Draco consists of two white dwarf stars (A6V, A4m both magnitude 4.9) at a distance of 99 light years and separated by 63.4 arc seconds.
The secondary is also a spectroscopic binary with a low mass companion completing an orbit every 38.6 days.
The overall system has an orbital period of 44,000 years.
61 Cyg
RA 21 07
DEC 38 45
61 Cyg was the first system apart from the Sun to have its stellar parallax and distance measured. The distance measurement of 10.3 light years made by Friedrich Wilhelm Bessel is remarkably close to the current accepted value of 11.4 light years. As the stars are separated by 31 arc-seconds the true binary nature was open to question until 1934 when the orbital parameters were accurately measured confirming the true binary status.
The two stars are orange dwarf main sequence stars (K5V, K7V) with magnitudes 5.2 and 6.05 and a combined orbit of 659 years.
Star A is a BY Draconis variable star and B is a flare type variable star with a measured 11.7 year cycle. Both exhibit notable flare activity with B being 25% more active.
Almaach (γ And)
RA 02 04
DEC 42 20
This double star is actually a quadruple system lying at a distance of 355 light years.
Component A is a bright golden yellow giant star (K3IIb) of magnitude 2.2 separated from an indigo-blue companion (magnitude 4.84) by 9.6 arc seconds and position angle 63 degrees.
However, Wilhelm Struve observed B to be a double in 1842 with the components separated by less than an arc-second. Further spectroscopic analysis between 1957 and 1959 revealed a third star.
B is now known to consist of two B9.5V stars (magnitude 5.5) that orbit in 2.67 days and an A0V star (magnitude 6.3). The two B9.5V stars and the A0V orbit in 64 years.
It is possible that fainter surrounding stars also belong to the system.
95 Her
RA 18 02
DEC 21 36
This is a true binary system with an orbit of about 11,000 years lying at a distance of 470 light years and separated by 6.3 arc-seconds.
Component A is a white A5 giant star (magnitude 4.96) with a temperature 0f 8000K a luminosity of 67 Suns, a diameter of 6.8 Suns and a mass of 2.8 solar masses.
B is a yellow-white giant star (G8) with a temperature of 4900K, a diameter of 19.4 Suns and a mass o £.2 solar masses.
A, due to its smaller size, is the more rapid rotator and is in the transition stage between H and He core burning whereas B has already reached the He burning phase.
Delta Cephei
RA 22 29
DEC 58 25
Delta Cephei lies at a distance of 887 light years and is a triple system (possibly quadruple).
It was discovered by John Goodricke in 1784 and its pale orange primary is the prototype for the Cepheid Variables: vital for distance measurements. It is the second closest Cepheid to the Sun (Polaris being the closest) and varies from magnitude 3.5 – 4.4 over a 5.3 day period. Recent radial velocity measurements revealed a spectroscopic companion B with a tenth of the mass of A. This AB system orbits over a 6 year period.
The visual blue companion C is separated from A by an easy 41 arc-seconds and is strongly suspected to also be a spectroscopic binary. Confirmation is needed but would give Delta Cephei the status of a quadruple system.
56 And
RA 01 56
DEC 37 15
56 And lies at a distance of 360 Light Years and can be found on the SW border of the Open Cluster NGC 752 (distance 1,200 Light Years and unrelated to 56 And).
The primary A is a K0 giant star separated from the M0 giant secondary B by 207 arc seconds (PA 298 degrees). Burnham noticed the large proper motion of A and observed a further C star (magnitude 11.9 at 18 arc seconds, PA 77 degrees). In addition, there is a further star D of magnitude 9.77 lying at 204 arc seconds from A (PA 258 degrees).
The present magnitudes of A and B are 5.7 and 5.9 but there has been dispute in the past as to which is the primary in this system implying some magnitude variations and possibly variable-like activity?
However, A and B are not physically connected and are an Optical Double star system.
ɳ Persei
RA 02 51
DEC 55 54
The primary of this multiple star system is a K3 (originally reported as M3?) orange-yellow supergiant (magnitude 3.8) with a luminosity of 13, 000 Suns and an estimated radius of 210 solar radii. Also known as “Miram” it lies at 1, 300 Light years and its light will have undergone significant dust absorption due to its location deep in the Milky Way. It has at least five companions although all are probably line of sight coincidences.
The secondary is a B9 dwarf star of magnitude 8.5 and its blue hue together with the yellow tints of the primary make this a “mini-Albireo”. If this is a true binary system then the orbital period would be a staggering 350,000 years which makes a true binary connection unlikely.
Ʃ 2816
RA 21 39
DEC 57 29
This, at first sight, appears to be a neat triple system found in the heart of the nebulous H11 Open Cluster (IC 1396).
However, things are far more complex and the following systems are now verified:
A (a magnitude 5.73 06F star) and C (magnitude 7.48) are separated by 11.8 arc-seconds (PA 120 degrees)
A and D (magnitude 7.53) are separated by 19.8 arc seconds (POA 338 degrees).
D and E (magnitude 13.19) are separated by 55.2 degrees (PA 351 degrees).
Another B star of magnitude 13.3 was identified by Burnham in 1889 and is separated from A by 1.7 arc-seconds (PA 320 degrees).
Very high resolution observations revealed a further companion to A at a distance 0f 0.1 arc seconds…………..and this is further shown to be a spectroscopic binary making A on its own a very close triple system.
I think that makes Ʃ 2816 a seven-star system……..at least!!
And, close by is the double Ʃ 2819 system consisting of magnitude 7.4, 8.6 stars separated by 13 arc seconds.
A multiple star feast!!!
Beta Cepheus
RA 21 29
DEC 70 34
Beta Cepheus was first observed by William Herschel and Piazzi and is also known by the Arabic name of “Alfirk” meaning Flock of Sheep.
The primary (A: magnitude 3.2) is the prototype of the Beta Cepheid Variable Stars that are similar to the Cepheids but with lower amplitudes and magnitude variations. In this case the magnitude varies from 3.15 to 3.21 over a 4 – 4.567 hour period. It was also itself found to be a binary (a: companion magnitude 8) by speckle interferometry techniques in the 1970s. The Aa system displays an inclined orbit and separations ranging from 0.33 to 0.01 arc seconds. A is a young (50 million years) B3 white/blue giant.
The secondary B is an 8th magnitude A2V star with colours recorded as blue/green. It is separated from A by 14 arc seconds and a position angle between 249 and 251 degrees.
The whole system lies at a distance between 595 and 700 light years according to recent Hipparcos measurements.
λ Ari
RA 01 58
DEC 23 36
First discovered by Christian Mayer and certainly observed by William Herschel Lambda Ari lies at a distance of 129 light years. The angular separation of 37.4 arc seconds has barely changed since Herschel first measured it given an estimated orbital period of 33, 000 years.
The primary is a yellow-white F0 V Main Sequence star with an estimated mass of 1.8 solar masses, a surface temperature of 7200 K, and an apparent magnitude of 4.95.
The secondary is a green-blue G1 V main sequence star with a smaller estimated mass of 1.25 solar masses, a temperature of 5930 K and a magnitude of 7.75.
Also in the field of view are λ Ari C (magnitude 9.7 at a separation of 189 arc seconds from the primary) and λ Ari D (magnitude 9.9 at a separation of 271 arc seconds). These are purely “optical” and are in no way physically related to the main double.
Xi CEP
RA 22 04
DEC 64 38
This is a relatively close double (80 Lyr, 30 pc???) with an orbital period of 3800 years. The spectral designations are A3 and F7/8 with contrasting magnitudes of 4.4 and 6.4. The colours seem to have divided opinion.
Webb found them White and Tawny, Smyth thought them both to be bluish whereas Haas states them to be Lemon-White and Royal-Blue.
17/16 Draconis
RA 16 36
DEC 52 55
17 Dra is a 5.38 B9 dwarf star and a 6.42 A1 dwarf star separated by 3.3 arc-seconds. The combined magnitude is 5.03 with as calculated distance of 412 light years.
16 Dra is a B9.5 Hydrogen-fusing dwarf with a magnitude 5.53 lying at a distance of 423 light years. The motions of the two systems (separated by 90 seconds of arc) are similar so this is a true binary/triple system.
However, 16 Dra is also suspected to be a double with a White Dwarf companion: never seen but revealed by the healthy UV/X-ray radiation measured around the system.
65 UMa
RA 11 55.1
DEC 46 29
Visually this appears to be a neat triple system consisting of a primary star (A) with a close companion (C) 3.7 arc seconds (PA 42 degrees) and a further companion (D) 63.2 arc seconds (PA 114 degrees).
However, this is a seven-star system.
Robert Aitken in 1908 found a star (B) orbiting A at a very close 0.2 arc seconds (PA 329 degrees) over a period of 118 years.
A itself is triple consisting off an eclipsing binary system 0.3 milli arc-seconds apart with a period of 1.7 days. This pair (Aa1 and Aa2) orbits with a third star (Ab) at a separation of 11 miili arc-seconds over a 640 day period. This system is known as DN Uma.
Furthermore, interferometry has revealed D to itself be a double system with a separation of 0.1 arc-seconds.
A fascinating, rare septuple system!!
[/et_pb_text][/et_pb_column][/et_pb_row][/et_pb_section]



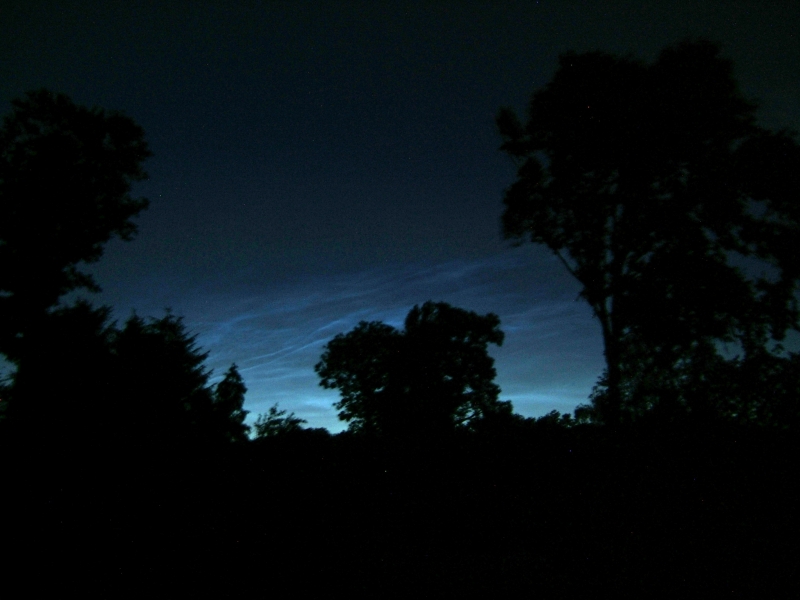
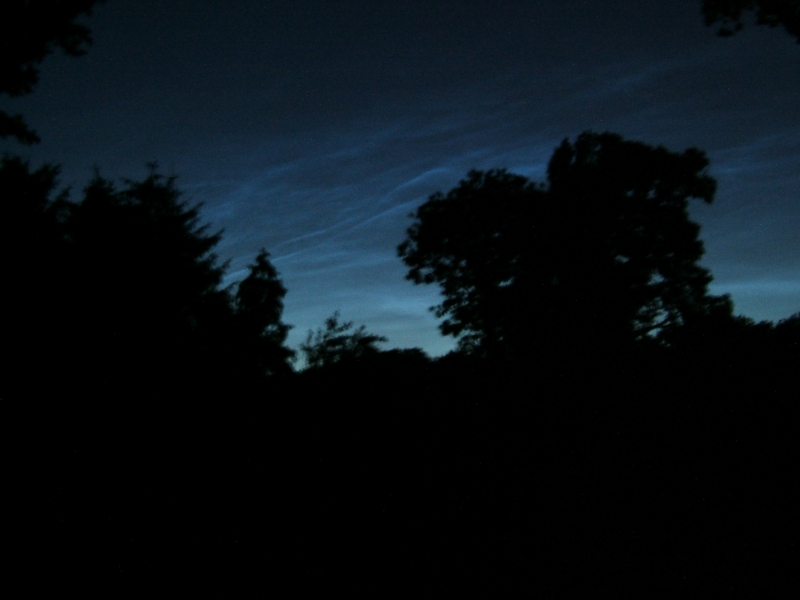
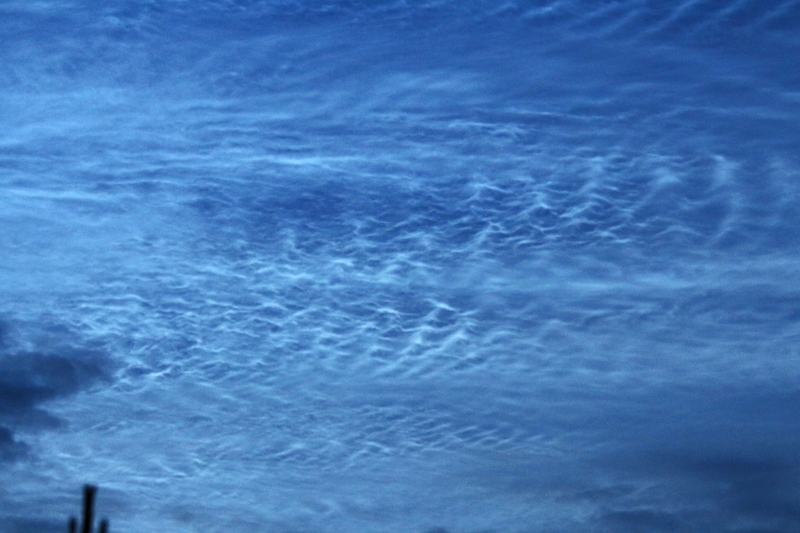

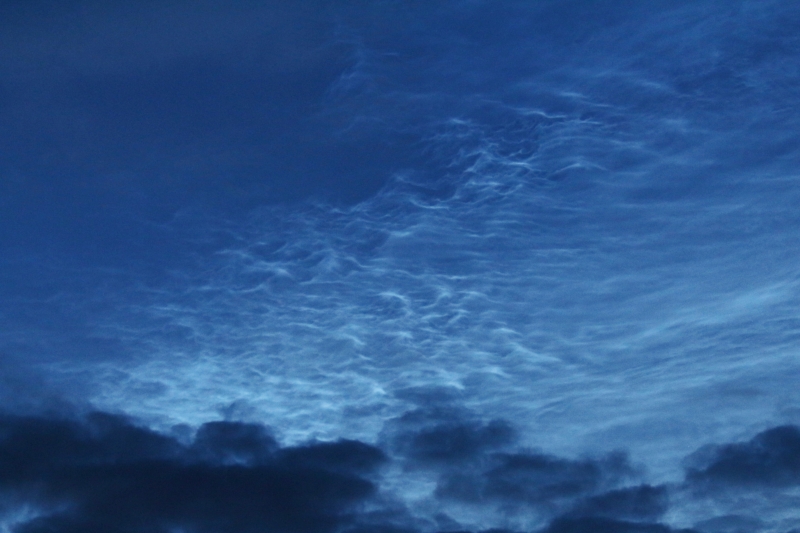
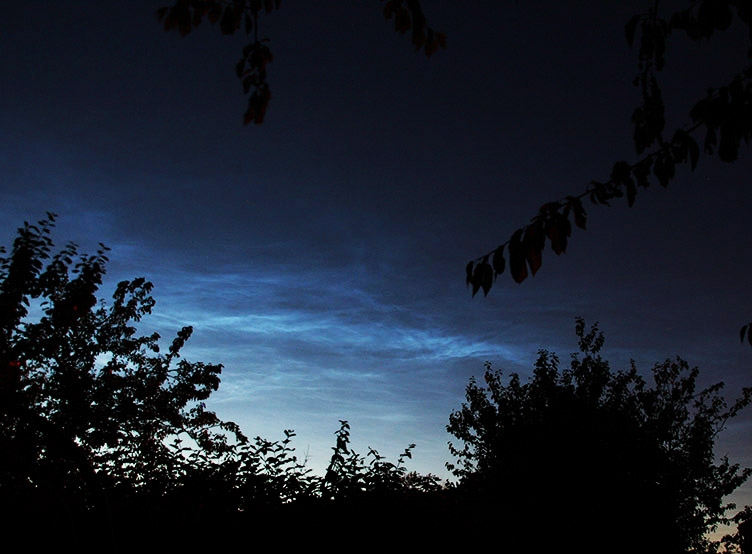
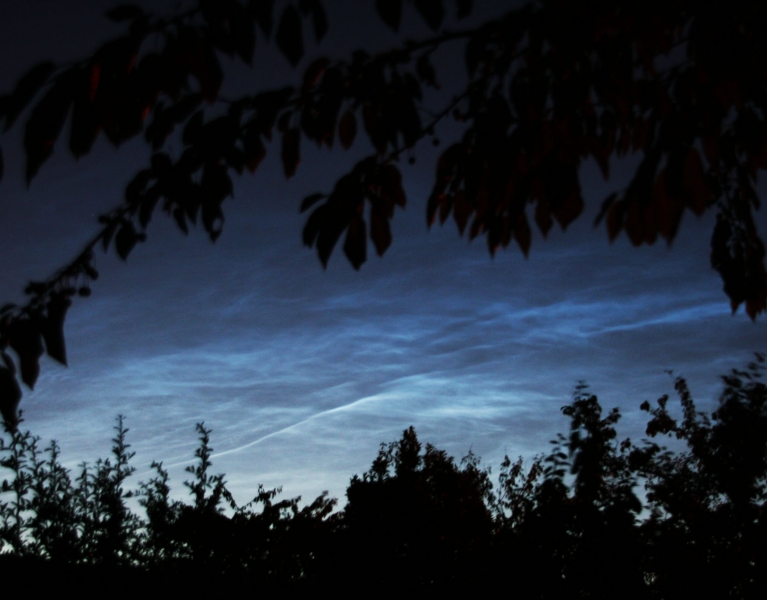
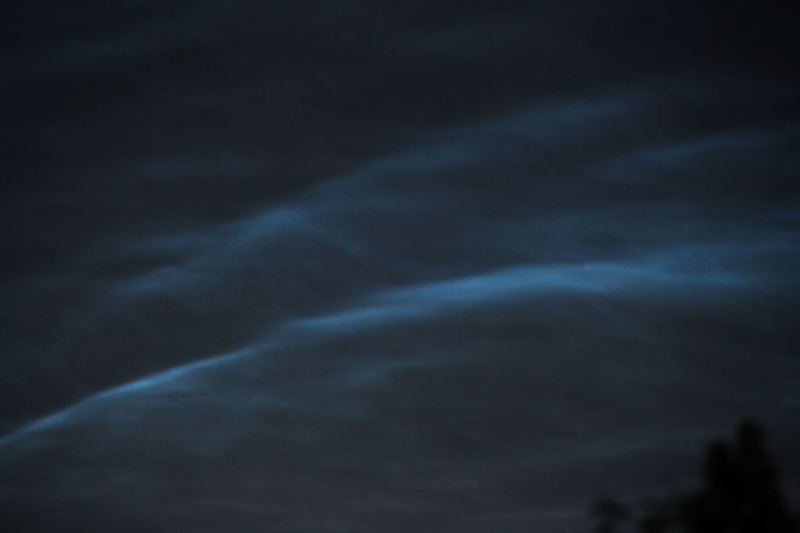
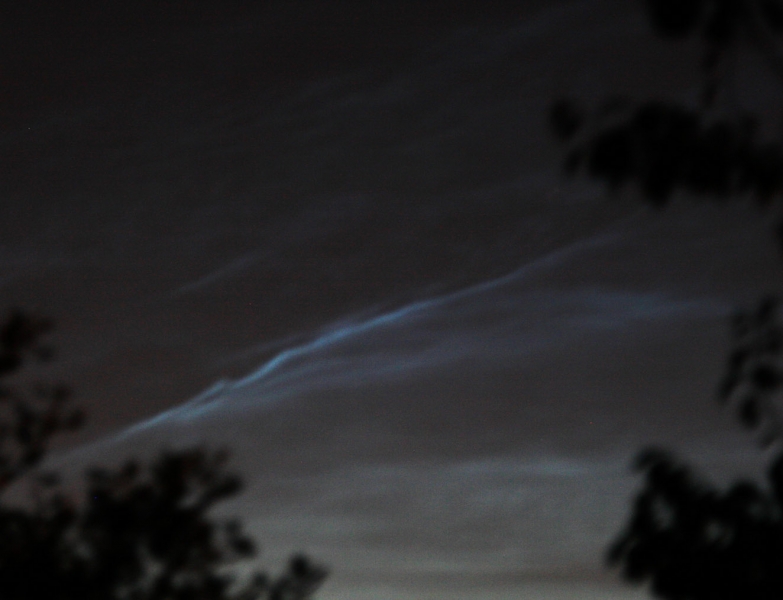
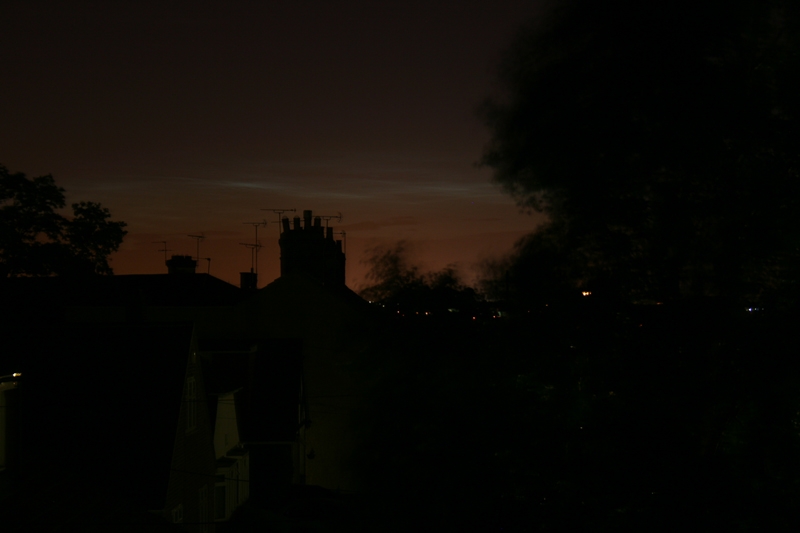
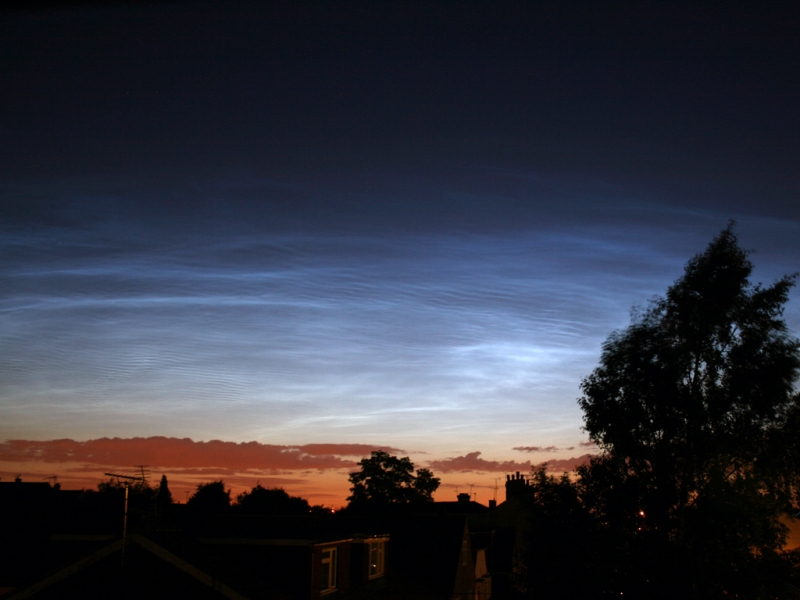
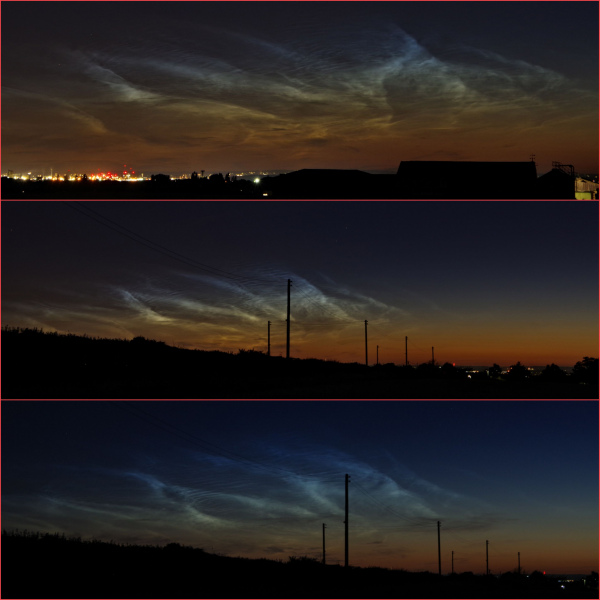 Image by Jim Burchell A collage of NLC'S taken last year on the 12/07/20 Pentax K70 31mm f6.3 10 sec iso 400.[/caption]