[et_pb_section fb_built="1" _builder_version="4.4.0"][et_pb_row _builder_version="4.4.0"][et_pb_column type="4_4" _builder_version="4.4.0"][et_pb_text admin_label="Image of worm gears with belts" _builder_version="4.4.0"]
[caption id="" align="aligncenter" width="800"]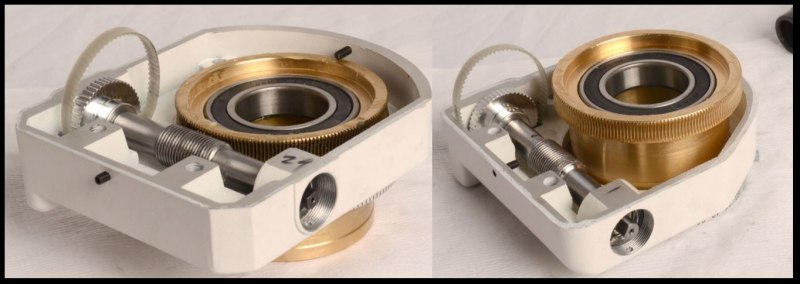 The EQ6 Belt mod replaces the brass gears with a timing belt to reduce errors and remove backlash.[/caption]
[/et_pb_text][et_pb_text _builder_version="4.4.0"]
The EQ6 has standard brass gears on the stepper motor and worm gear, with a ‘transfer’ gear to translate the stepper motion to the worm gear.
These gears introduce errors and backlash, the belt drive mod is designed to replace these gears with a timing belt
[/et_pb_text][et_pb_text admin_label="The old and new parts image" _builder_version="4.4.0"]
[caption id="" align="aligncenter" width="800"]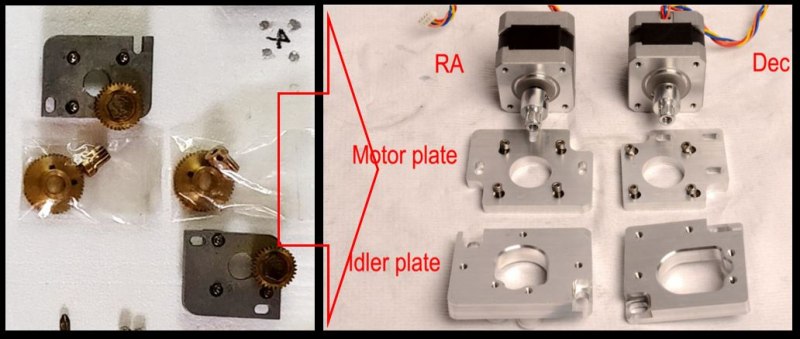 The old and new parts[/caption]
[/et_pb_text][et_pb_text _builder_version="4.4.0" hover_enabled="0"]
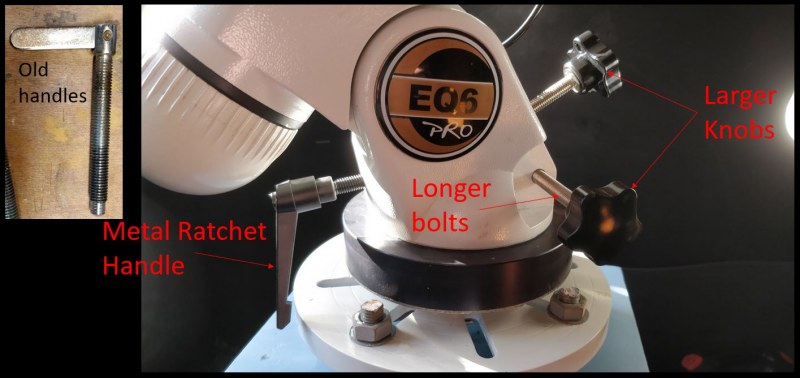
Replacement of the gears for a belt drive is straightforward but will take a day to do properly. Instructions are provided with the kit from Rowan Astronomy and another useful resource is the hyper-tune instructions from astro-baby.com
There are a couple of tricky steps
- Removing the adapter at the bottom of the polar scope shaft – you will need a steal belt, oil filter wrench (from Halfords)
- Removing the worm gear caps and the worm gear retaining ring, these can be removed using pointed pose plyers, but you risk damaging the caps if you slip, a better approach is to use the specially designed tool (available from Rowan Astronomy)
- The bolts holding the mount together are steel bolts with M6 threads tapped into the aluminium body – it is very easy to strip the threads be vary careful – if you do strip them you can repair them easily with a Helicoil thread repair kit.
[/et_pb_text][et_pb_text admin_label=" Some of the tricky steps image" _builder_version="4.4.0"]
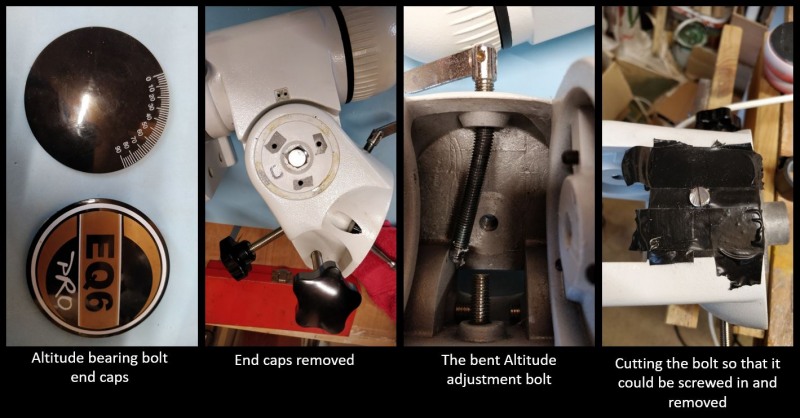
[caption id="" align="aligncenter" width="800"]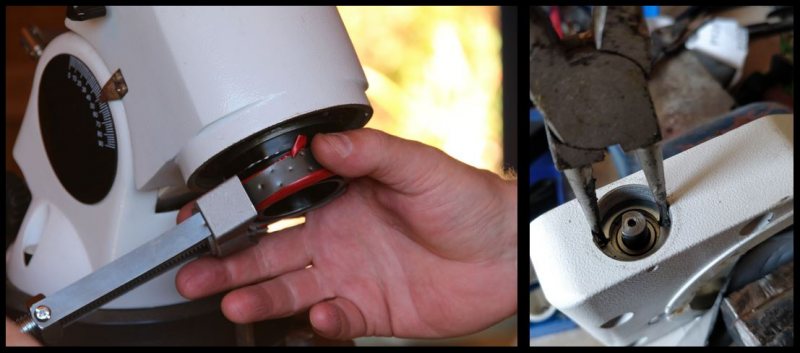 Some of the tricky steps[/caption]
[/et_pb_text][et_pb_text admin_label="Image of belts" _builder_version="4.4.0"]
[caption id="" align="aligncenter" width="800"]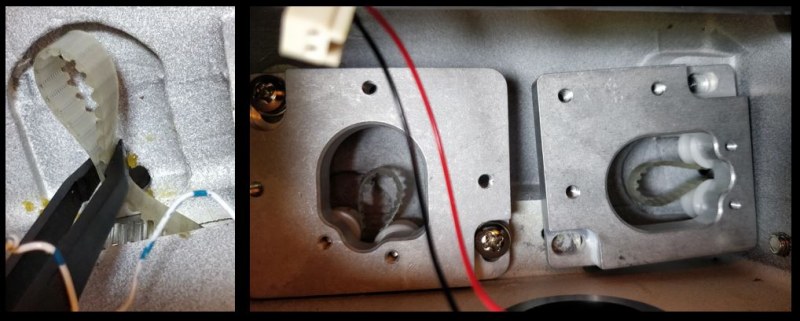 Threading the belts through the guides can also be tricky, locking tweezers help a lot![/caption]
[/et_pb_text][et_pb_text _builder_version="4.4.0"]
Fitting the belts is easier if you have locking tweezers, but it can be done with your fingers - if you are nimble – there is not much room to manoeuvre inside the mount.
[/et_pb_text][et_pb_text admin_label="parts image" _builder_version="4.4.0"]
[caption id="" align="aligncenter" width="725"] The disassembly required to fit the belt mod.[/caption]
[/et_pb_text][/et_pb_column][/et_pb_row][/et_pb_section]
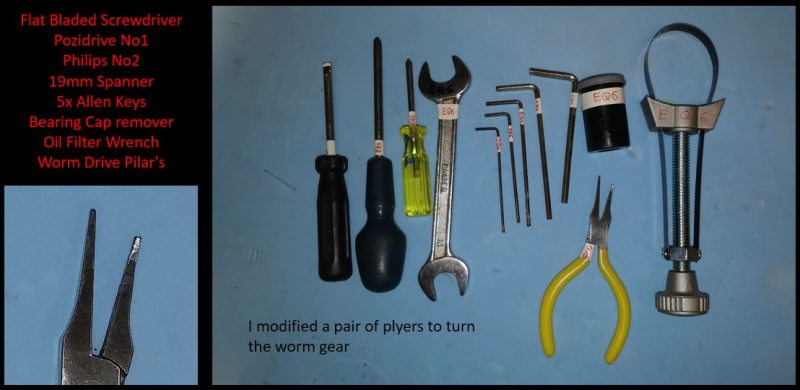 All the tools needed for a strip-down and rebuild of the EQ6 mount. A long flat-bladed screwdriver, digital micrometre and locking tweezers are also useful but not essential.[/caption]
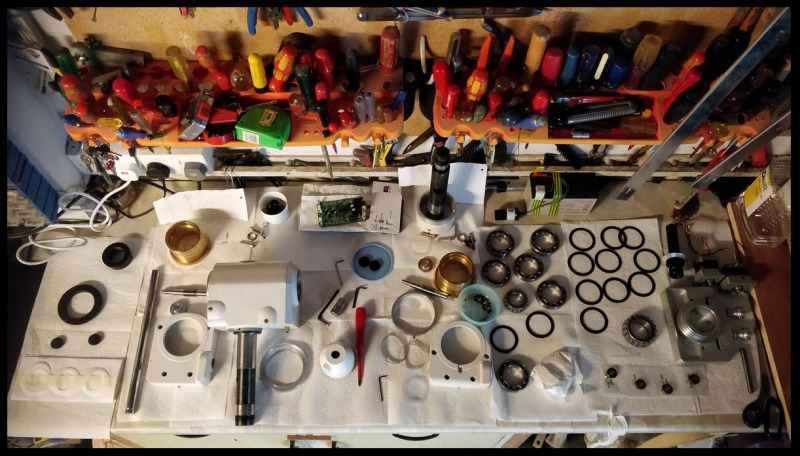 EQ6 parts laid out on the workbench, note the old (bottom middle) and new PTFE shims (bottom left)[/caption]
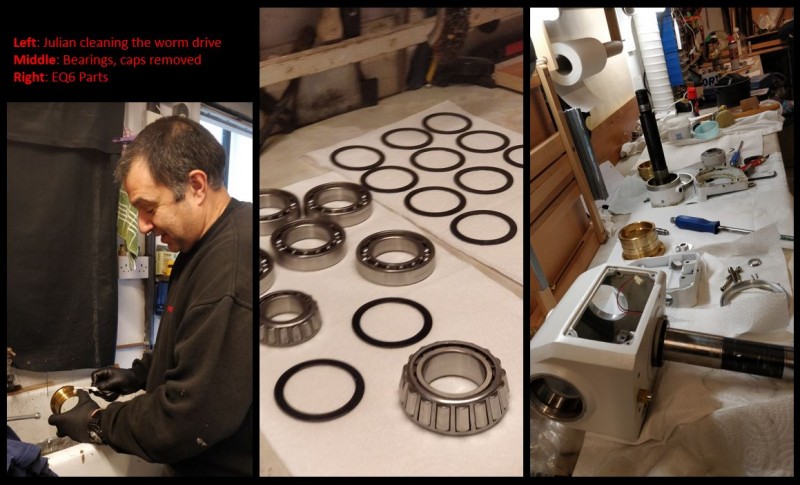 Cleaning all the parts[/caption]
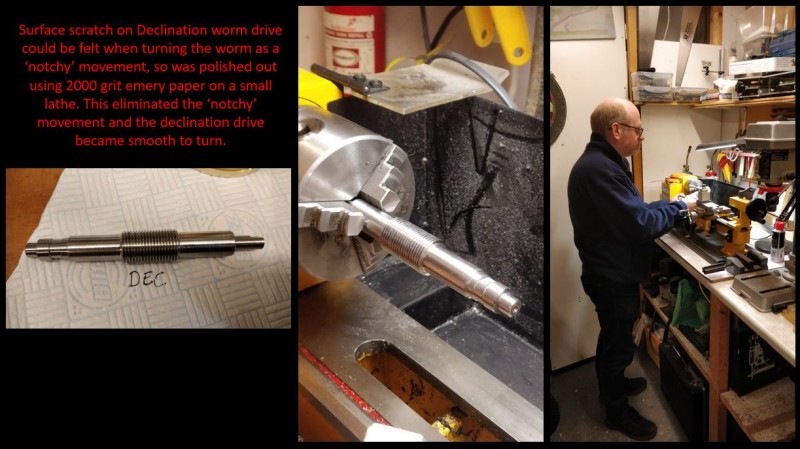 Declination worm gear being repaired on the lathe, which was simply a matter of polishing out a surface scratch.[/caption]
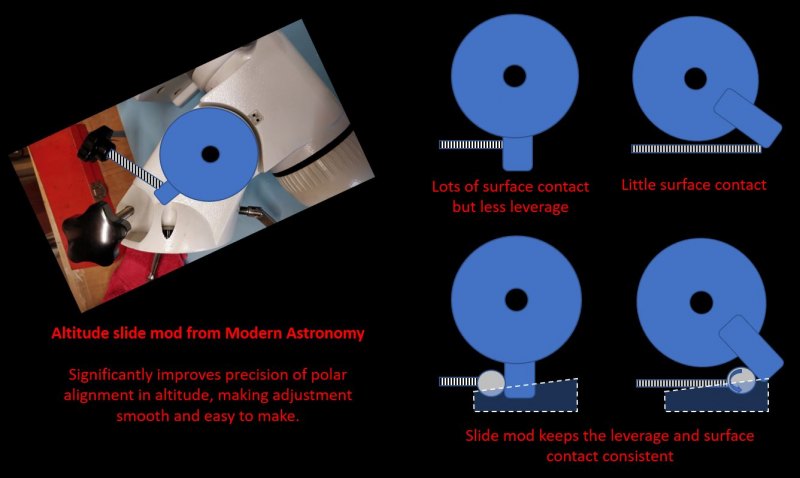
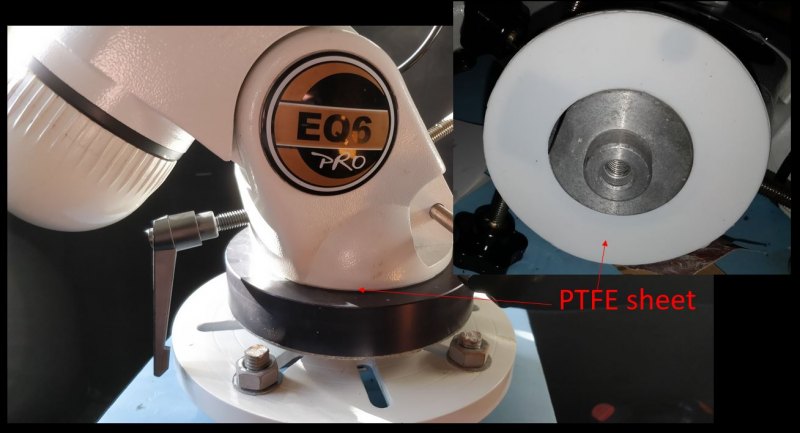 PTFE between the pier mount and the EQ6 make for super smooth azimuth adjustment when polar aligning the mount[/caption]